

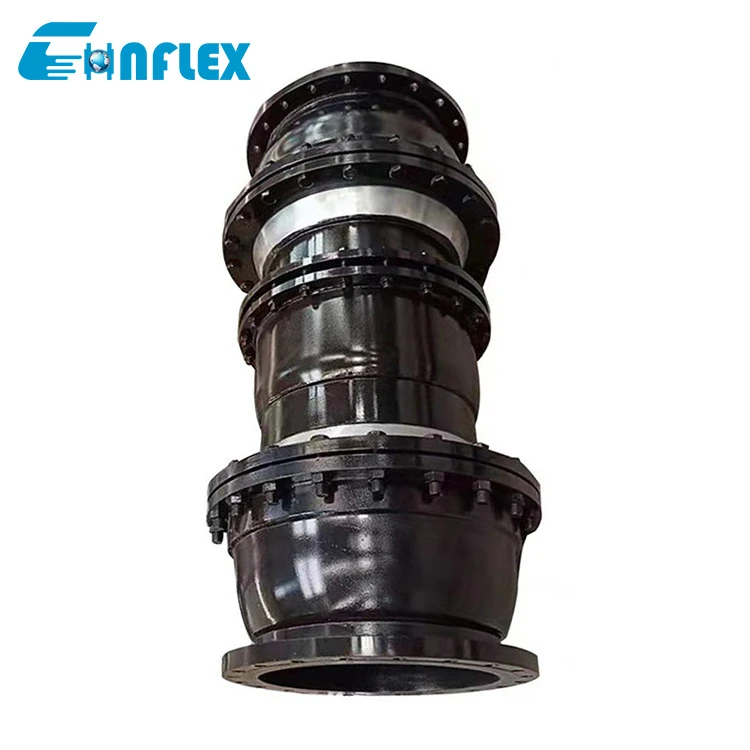
Hey there! As a supplier of Rotary Compensators, I often get asked about how to replace the sealing elements of these nifty devices. It's a crucial maintenance task that can significantly extend the lifespan and efficiency of your Rotary Compensator. So, let's dive right in and break down the process step by step.

Why Replace Sealing Elements?
Before we get into the how-to, let's quickly talk about why you might need to replace the sealing elements in the first place. Over time, the sealing elements in a Rotary Compensator can wear out due to constant movement, exposure to high temperatures, pressure, and various chemicals. When this happens, you might notice leaks, reduced performance, or even complete failure of the compensator. Replacing the sealing elements can prevent these issues and keep your system running smoothly.
Tools and Materials You'll Need
First things first, gather all the tools and materials you'll need for the job. Here's a basic list:
- Safety gear: Gloves, safety glasses, and a dust mask to protect yourself from any debris or chemicals.
- Wrenches and sockets: To remove and install bolts and nuts.
- Sealant: Make sure to choose a sealant that's compatible with the materials in your Rotary Compensator and the operating conditions.
- New sealing elements: Of course, you'll need the right type and size of sealing elements for your specific Rotary Compensator. As a supplier, we can help you find the perfect fit.
Step 1: Prepare the Work Area
Safety is always the top priority. Before you start working on the Rotary Compensator, make sure to shut down the system and isolate it from any power sources. This will prevent any accidental activation or release of pressure. Also, clean the work area around the compensator to remove any dirt, debris, or loose parts.
Step 2: Remove the Old Sealing Elements
Now, it's time to get to work on removing the old sealing elements. Start by carefully removing any bolts, nuts, or fasteners that are holding the compensator together. Keep these parts organized and in a safe place so you don't lose them. Once the fasteners are removed, gently separate the components of the compensator to access the sealing elements.
Use a suitable tool, like a flathead screwdriver or a pry bar, to carefully pry out the old sealing elements. Be careful not to damage the surrounding surfaces or other components of the compensator. If the sealing elements are stuck, you can use a little bit of lubricant or solvent to help loosen them.
Step 3: Inspect the Compensator
While you have the compensator apart, take a close look at all the components for any signs of damage, wear, or corrosion. Check the surfaces where the sealing elements sit for any scratches, dents, or unevenness. If you notice any issues, it's a good idea to address them before installing the new sealing elements. You might need to repair or replace some parts to ensure proper sealing and performance.
Step 4: Clean the Surfaces
Before installing the new sealing elements, it's essential to clean the surfaces where they will be placed. Use a clean cloth or a brush to remove any dirt, debris, or old sealant. You can also use a suitable cleaning solvent to ensure a clean and dry surface. Make sure to follow the manufacturer's instructions when using any cleaning products.
Step 5: Install the New Sealing Elements
Now comes the exciting part – installing the new sealing elements. Start by applying a thin layer of sealant to the surfaces where the sealing elements will be placed. This will help create a better seal and prevent leaks. Carefully place the new sealing elements in position, making sure they fit snugly and evenly.
Once the sealing elements are in place, reassemble the components of the compensator. Tighten the bolts and nuts to the recommended torque specifications. Be careful not to over-tighten, as this can damage the sealing elements or other components.
Step 6: Test the Compensator
After you've installed the new sealing elements and reassembled the compensator, it's time to test it. Slowly start up the system and check for any leaks or abnormal noises. Monitor the pressure and temperature to make sure everything is working properly. If you notice any issues, shut down the system immediately and double-check your work.
Tips and Tricks
- Keep a spare set of sealing elements: It's always a good idea to have a spare set of sealing elements on hand in case of an emergency. This can save you time and money in the long run.
- Follow the manufacturer's instructions: Every Rotary Compensator is different, so make sure to follow the manufacturer's instructions for maintenance and replacement of sealing elements.
- Inspect regularly: Regular inspections can help you catch any potential issues early on and prevent costly repairs or downtime.
Related Products
If you're interested in other types of compensators or pipe fittings, we also offer Sleeve Compensator, Dismantling Expansion Joint, and Pipe Settlment Joint. These products can complement your Rotary Compensator and provide additional flexibility and protection for your piping system.
Conclusion
Replacing the sealing elements of a Rotary Compensator might seem like a daunting task, but with the right tools, materials, and knowledge, it can be a straightforward process. By following these steps and tips, you can ensure that your Rotary Compensator continues to perform at its best for years to come.
If you have any questions or need further assistance with replacing the sealing elements of your Rotary Compensator, or if you're interested in purchasing a new one, don't hesitate to reach out. We're here to help you find the perfect solution for your needs.
References
- Manufacturer's manuals for Rotary Compensators
- Industry standards and best practices for sealing element replacement